Tuesday, 14 May 2013

Simple and quick.

 
This card is so simple and could be used for many different occasions. It uses a big bloomer flower, bakers twine, button and textured card stock.
I used the capsule collection bright range.
 
 
enjoy

Monday, 13 May 2013

Home to nest


Home to nest is such a lovely range with it's birds boxes and little images.
this is a favourite image at the mo very simple but several layers to add interest. The selection of buttons I have at the mo are amazing so many different colours and sizes.
 
 
Enjoy

Sunday, 12 May 2013

Soft and subtle Gorjuss

 
Ohh I'm sorry it's been a while. so much has been going on and I am afraid blogland had to take a backstep. Still I 'm back again for now.
 
This is a card I realised I had not posted. there's some simple layering going on and the stamped image uses the masking technique.
I did get lots of comments about Gorjuss and the fact that she was to dark so this one was coloured in paler colours and I paper pieced the dress. The papers are from forever friends.


Enjoy see you soon.
 

Sunday, 14 April 2013

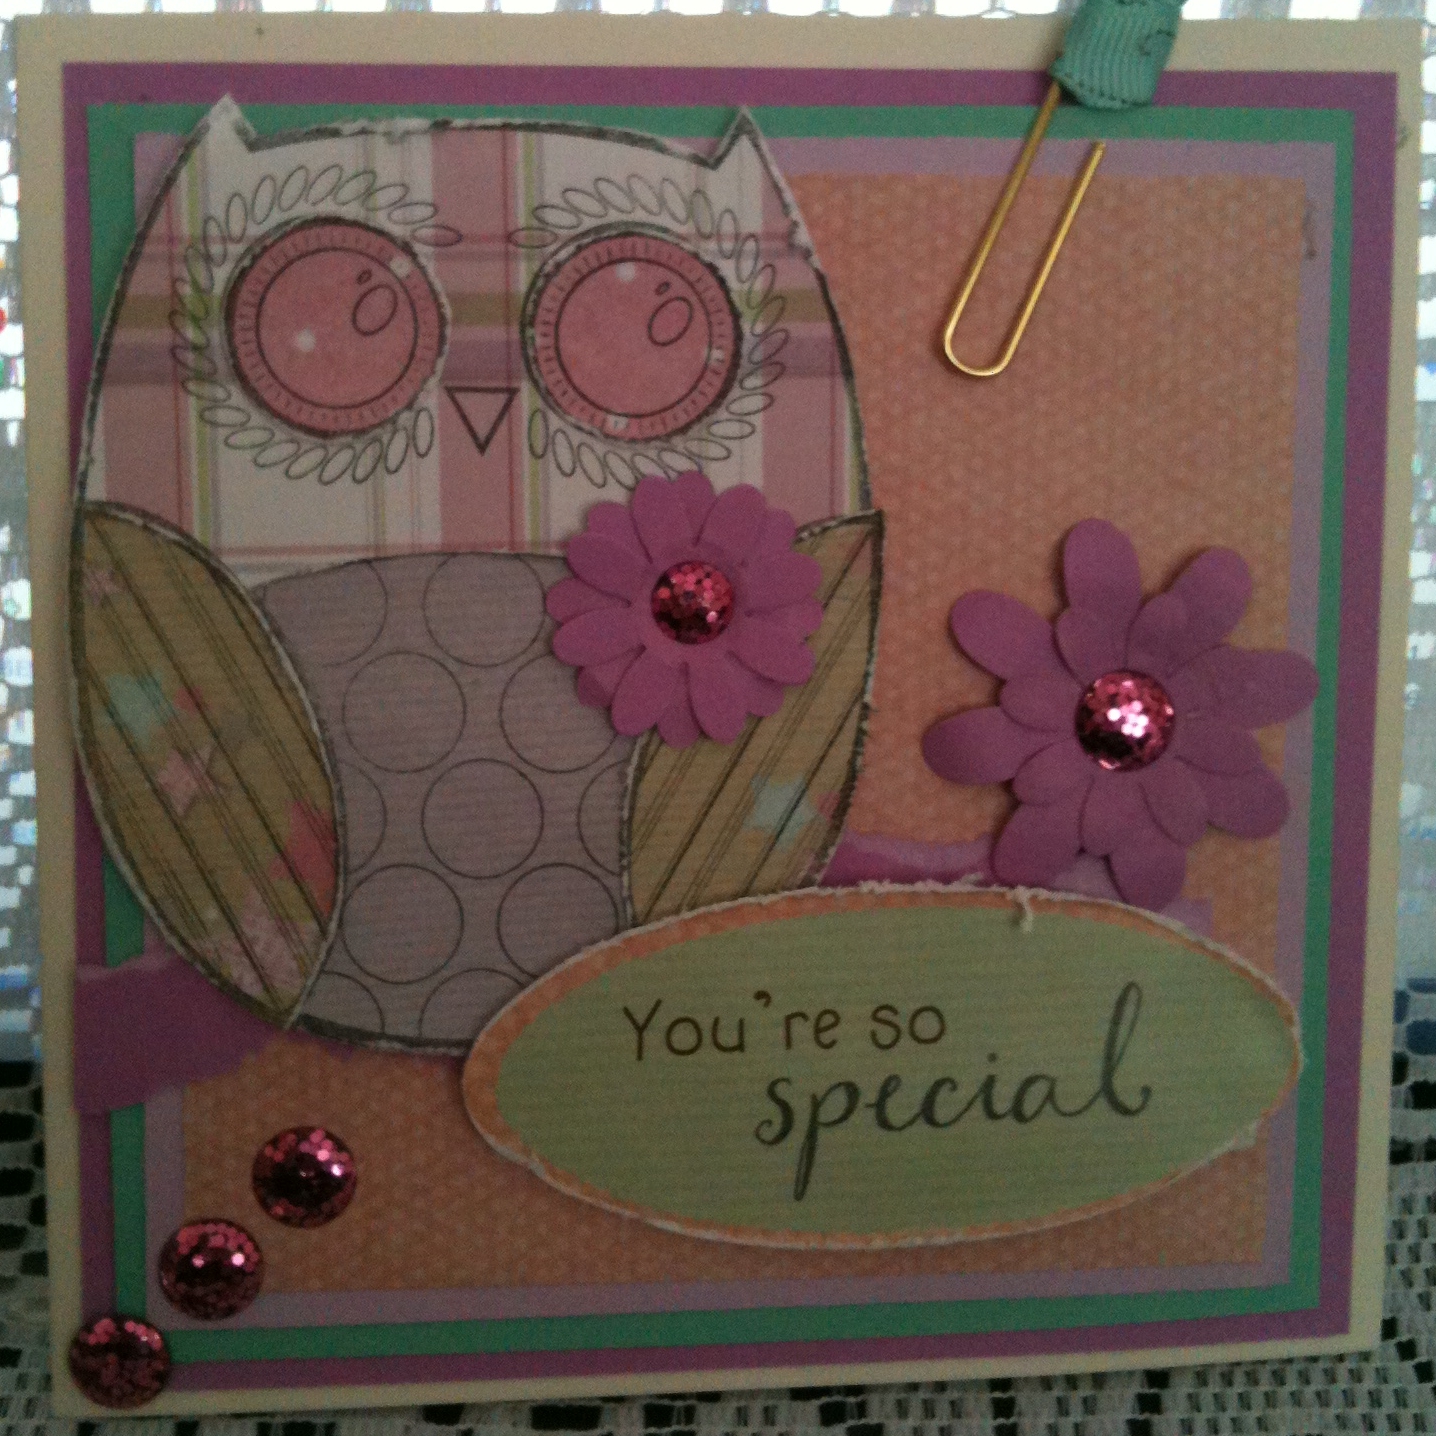
Too wit too woo

 
Paper piecing is good fun and if you are new to stamping takes the pressure off, of the colouring in which puts some off.
This card was mat and layered and then the owl was stamped onto several different papers and a piece of card. I then cut distressed each piece and stuck onto the owl I stamped onto card.
Finished off with a couple of die cut flowers and shimmer dots.
 
 
Thanks for popping by see you tomorrow.

Saturday, 13 April 2013

Poser

 
This page was made using gorjuss, a very simple layout with hand cut and stamped paper dolls.
The papers were distressed with my knife.


See you tomorrow thanks for popping by.

Friday, 12 April 2013

Home grown

 
So heres another card versus scrapbooking.
I love using these papers with pictures of my grandaughter they just work so well.
As you can see the layout is the same.
The ultimate die cut packs are great for scrapbooking as you have lots of papers to choose from as well as the letters which are great for titles.
 
I used the paper ribbons instead of fabric ribbon.
 On the scrapbook page I added a paper clip and a piece of ribbon to the tag.
 
 
When I finished this card everything looked a little flat.
 So I used a fine liner to highlight the papers.
 
thanks for popping by see you tomorrow.

Thursday, 11 April 2013

Card or scrapbooking?

This is the card from the scrapbook versus card making challange.
Again I used Forever Friends Kraft Notes the layout is the same as the scrapbook page from yesterday.
The papers were from the same packs
 What this shows us is if you  make cards you can  use the same products for scrapbooking so no extra expense.
 
 
See you tomorrow thanks for popping by.

Wednesday, 10 April 2013

Love this photo and for demo purposes it's a great one to use.
This one was a scrapbook versus card making so this is the scrapbook page.
 I was inspired by a page I saw on http://coventryann.blogspot.co.uk she does some lovely pages.
My page uses forever friend kraft notes papers and decoupage and lots of die cut circles.


Thanks for popping by see you tomorrow.

Tuesday, 9 April 2013

Been a while

 
It's been a while sorry but I've been a little busy with school holidays and the like.
Anyway I'm back for now.
this page layout was takeh in a window and isn't the best but it's an eclectic mix of All Aboard papers. 


See you tomorrow thanks for popping by,


Thursday, 28 March 2013

Island cruises

A small photo with no impact can be made to stand out by simply chopping it up and arranging on to a piece of card.
 If your papers all blend into each other try matting them.
 Don't foget to gut the papers aand card where you can.
Cuts down on the weight and save paper for future projects.
I ued all aboard 12 x 12 papers and journalling cards.
 
 
See you tomorrow thanks for popping by.

Wednesday, 27 March 2013

Holidays abroad

 
Stamping along the right hand side and 12 x 12 papers chopped and distressed.
The plain tickets were cut and I wrote the places I have been on holiday.
Used bakers twine and brads to finish.
The picture is quite blurred but the page is all about the story.
So don't discard those not so perfect pictures. 
 
 
See you tomorrow thanks for popping by.

Tuesday, 26 March 2013

The almost cruise

How I love this all aboard range, and with my regular visits to the island.
 I thought it would be a good idea to use both.
The picture doesn't do this page justice there is fake stitching around each piece of paper and card the letter tiles have been inked as well.


See you tomorrow thanks for popping by

Monday, 25 March 2013

Gorjuss instructions


O.k make yourself a cuppa, pull up a chair and be prepared for a long post.
I hope this is going to make sense!!!!
 
You will need 6 cards, size is irrelevant but they must all be the same size.
I use the papermania cards as they are scored but not folded.
 
 I shall be making this card at future demos.


1. Fold 2 cards along the score line. Fold 4 into gate fold use the score line as the guide
DO NOT FOLD on the pre scored line
 
 
2. You need to create a 1cm spine on the FIRST card ONLY. This need to be created in the narrow pieces of the card.
 
 
3. Follow the picture above to place your tape around the edge of the smaller sections.
 
 
4. Flip the card over and place the tape around the edges of the smaller section. DO NOT put any tape into the spine areas.
 
 
5. Take the cards that you folded on the score line and run a.piece of tape along the long edges. Stick the cards over the smaller sections leaving the spines free
 
 
6.Repeat this on both sides this will give you a tri fold card with spines.
 
 
7. Take 2 of the gatefolds and place tape around the smaller sections.
 
 
8. Take the last card and place tape around the back of the larger section.


9.Stick the smaller sections to the centre section of the tri fold butting the edges up.
 
 
10. Stick the remaining card over the centre of the section.
To close fold each section right over left until everything is flat.
 
Be prepared to be sat at your desk for the next couple of days.
 
Thanks for popping by. See you tomorrow.


Sunday, 24 March 2013

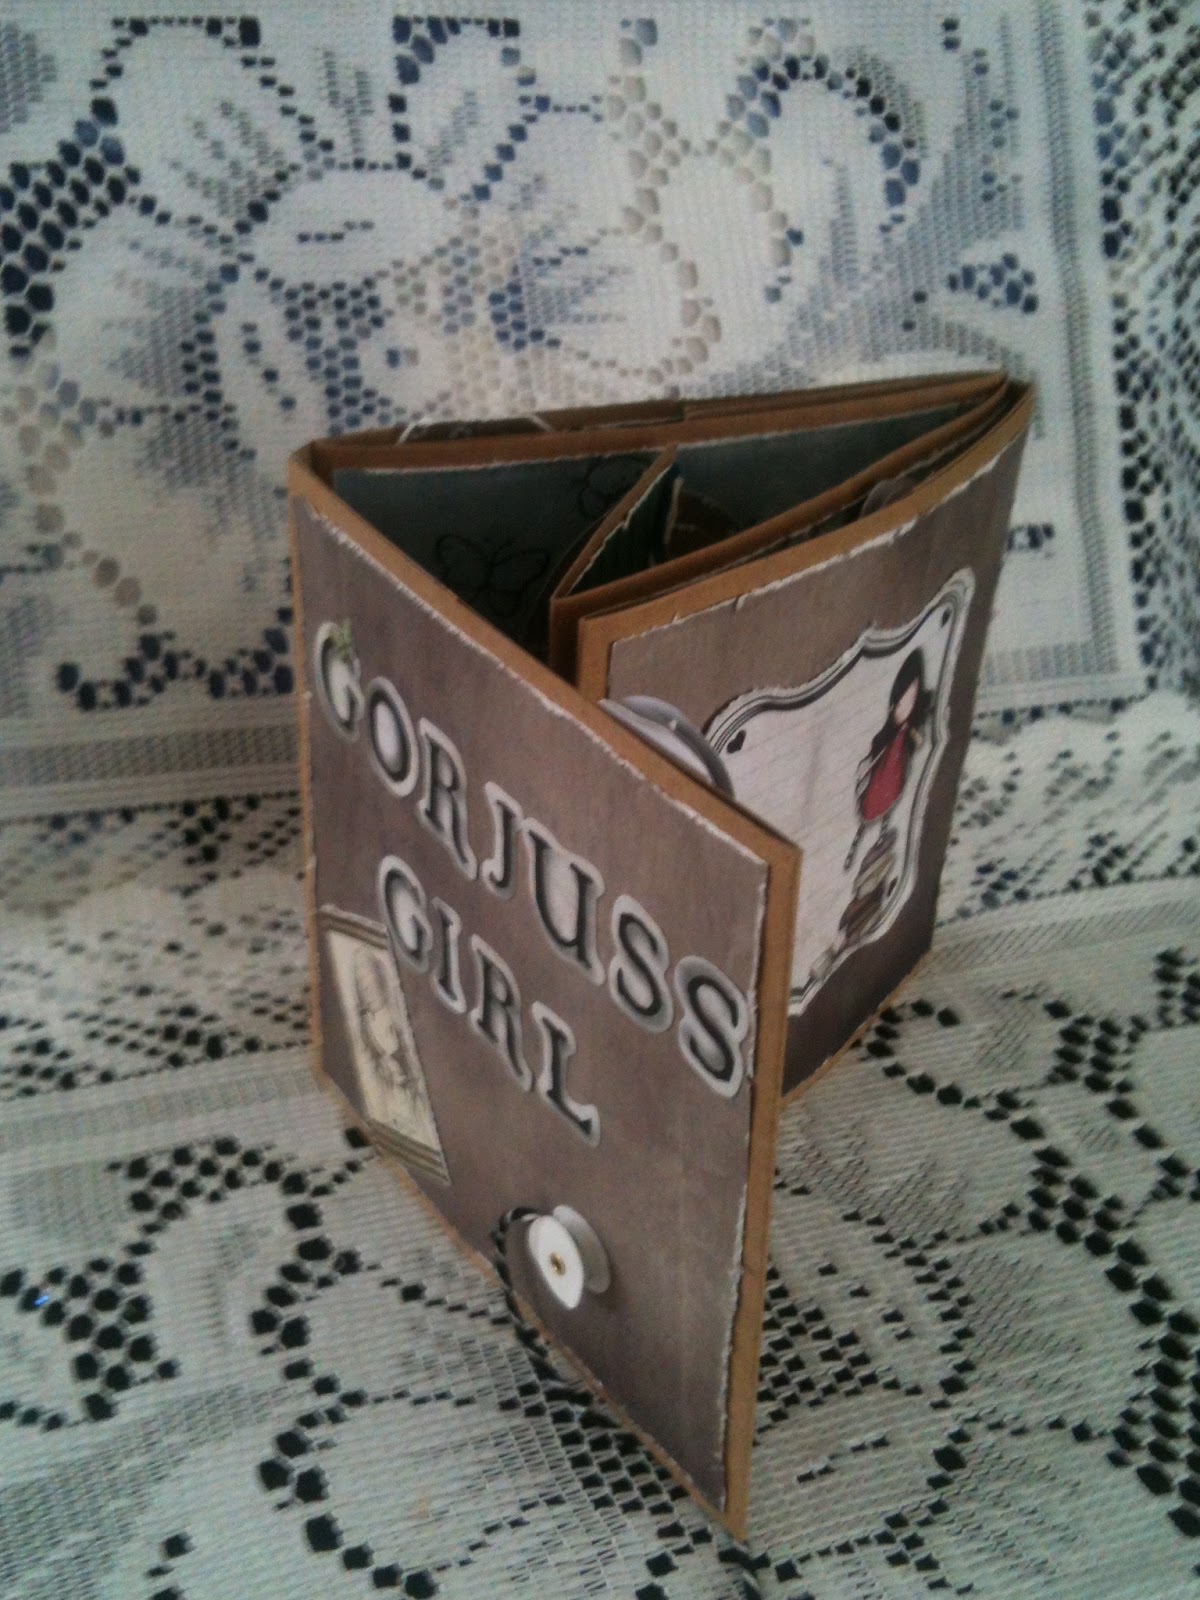
My Gorjuss girl

Here it is You have been waiting for this one for a while now so I have finally got round to photographing  the finished book. I will be putting the tut up tomorrow so do call back.


All the elements of this little project are from the Gorjuss range. With the exception of the little disc on the bottom right of the photo above. they come from the all aboard range.
 
I have used a variety of toppers, decoupage and the insides of the packages.
 
 
The photo above is a topper which I distressed. I then cut the frame of the topper and stuck it to the card with foam pads. The picture was stuck on flat. The paper was over stamped.
 
 
This page was decoupaged with added flowers from the decoupage.
 
 
A sweet lay out with some of the buttons from the magazine
 
 
An inside view
 
 
Another inside view
 
 
And this is the finished book. It was great fun even if it did take hours.
Remember the tutorial will be up tomorrow.
No pressure there then
 
See you tomorrow. Thanks for popping by


Saturday, 23 March 2013

Little boxes

 
what do you do with the little boxes in the ultimate die cut packs????
Well normally I give them to the kids to fill with sweets to sell at Christmas fairs.
Not any more they will have to come up with something else.
I made up 4 and stuck then sandwiched them between 2  pieces of card.
I die cut a square scalloped cardand made an easel card which i stuck to the boxes.
 
 
 It is obviously a card that won't go through the post so having elements sticking off the card isn't an issue.
The ribbon is from the packaging what a bonus.
 
 
See you tomorrow . Thanks for stopping by.

Friday, 22 March 2013

Distressed or clean cut.

 
Another couple of forever friends. One distressed and one clean cut.
The picture on the clean card is a topper that I cut out.


Thought a close up of the distressed card would be useful.
The topper is one of the little ones in the ultimate die cut pack. The papers are from the 6 x 6 design stax. The buttons are spots and stripes capsule collection. 


See you tomorrow. Thanks for popping by.

Thursday, 21 March 2013

Distressed

 
How I love distressing these new ranges.
For those new hoppers this style of distressing is done with my knife. Just scrap it along the edge of the paper or card.
This forever friends one has plaited bakers twine.
Theres another view of my suitcase.
How I wish it was big enough to pack my holiday clothes in so I could jet off to somewhere hot and sunny. Can see it now!!


See you tomorrow. Thanks for stopping by.

Wednesday, 20 March 2013

Gorjuss


So I have been a bit lax didn't realise that there were no scheduled posts so will do another batch asap.
This one is a variation of one of my previous posts. the little case is a suitcase I got when  did a felting cours. I decided to cover it with newspaper and glue and then papinted it chocolate.
 I finished it off with some black ink on the edges and some of the all aboard cardstock stickers and a luggage label.


See you tomorrow.
Thanks for popping by

Sunday, 17 March 2013

Gorjuss

 
So to show this one off I needed to take 3 photos.
The basics are an easel card with a gatefold front.
The outside of the card is gorjuss papers distressed for a change and over stamped with the all aboard postmark stamp.
It is my fav.
I then made a buckle by cutting 2 dies at once inking the edges
 stick one piece to the left flap and the other to the right.
Add an element from the ultimate die cut pack.
Decorate the base of the card and add a stopper.
 
 
this picture shows a sneek of the inside and how the buckle works.

 
The last photo shows the inside of the card clearly.
so lots of elements to this one.


See you tomorrow


Saturday, 16 March 2013

Urban butterflies

 
I have done this card several times before and works really well with stamped images of patterned papers.
I will be putting the instructions on www.bespokecardsandmore.blogspot.com
It is a very simple technique when you know how.


See you tomorrow

Friday, 15 March 2013

All aboard

 
Another all aboard card again this is an ecclectic mix of the all aboard range.
My feeling with this range is that you can just let go and do your own thing.
layer the elements up after distressing the edges, add some stamping and away you go.
 
 
See you tomorrow

Thursday, 14 March 2013

Scruffy little bear

Its been a while since I have done fold cards so this is a distressed easel.
I layered 2 different pieces of textured card and papers from 6 x 6 designstax.
The edges of the paper and decoupage were all distressed with my knife.


See you tomorrow

Wednesday, 13 March 2013

A bit of everything

 
This card shows how to mash up forever friends, Gorjuss, and all aboard as well as an urban butterfly.
the techniques in this one were gutting, stamping decoupage and layering.


See you tomorrow

Tuesday, 12 March 2013

Kraft notes

So what do you do with double sided papers? I argue with myself.
I rolled the paper over a pen to get the curl. I added a piece of matching paper behind to follow the pattern through.
The flower was made with my favorite flower die "petal posy" which I shaped upwards.
The brads were in a goody bag from last year.


See you tomorrow

Monday, 11 March 2013

More Gorjuss

 
Another distressed Gorjuss.
It's hard to see on this one but the frame WAS white I inked it lightly to change the colour. The edges were distress with my knife on the larger piece of paper. I then inked the beige piece with my dominoes.
I cut the frame off the topper and remounted it onto the project with foam pads to add some dimension.
The butterflies are cut from the waste on the decoupage sheets.
I am sure Gorjuss has "borrowed" Mr Beans "Teddy"
 

Sunday, 10 March 2013

Kraft notes

 
Layout of the month I think.
This one is distressed and uses the ultimate die cut pack.
Am planning some tutorials. So my question is
What would you like to see?
Thinking caps on!!


See you tomorrow

Saturday, 9 March 2013

Gorjuss

I have to say this range has really grown on me. the papers are so lovely and Gorjuss reminds me of Pippy Longstocking.
Now that shows my age.
So this card uses the pale beige paper which I over stamped with the text stamp "postmark" from all aboard.
I then over stamped that with the date stamp from "Air mail" also from the All aboard range.
I then added a tag from the Gorjuss ultimate die cut pack.This was  was too large for the card so I trimed it and then cut the button and stuck them back on. Gorjuss herself was cut using the "out of the box " technique. I then created a "fake die" to mount her on.
finished with one of the bookplates cut from the packaging with a few butterflies and gems.
 
 
See you tomorrow

Friday, 8 March 2013

All aboard

 
This card uses the all aboard range.
I have used the stamps which I have cut out and mounted on pads to give a bit of dimension.
 
 
See you tomorrow

Thursday, 7 March 2013

Mash up

This is one of my samples and by heck are there a lot of them,
I will post all of them for you to see eventually.
this card is a 5 x 7 I used All Aboard papers, journalling cards and Kraft note decoupage.
Really loving these products at the moment and am off to play a bit more today.
 
 
See you tomorrow